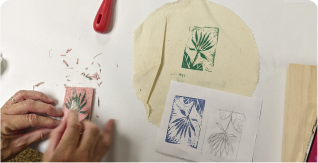
Hands-On History Activities
Paper Making and Decoration

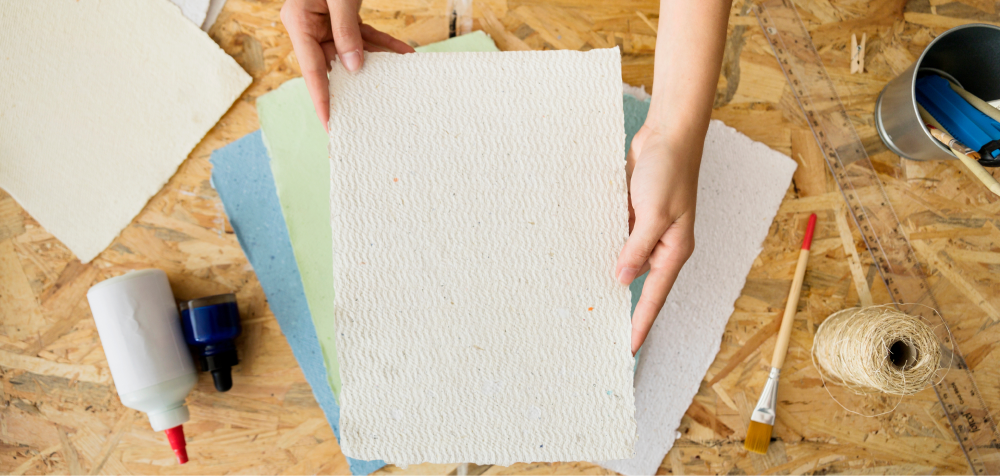
History
Writing was done on various materials, such as papyrus and parchment (made from sheepskin), before the invention of modern paper.
Timeline
Some time between 140 B.C.E. and 86 B.C.E.: The first examples of paper were made from what seem to be hemp waste in water, washed, soaked, and beaten to a pulp. A paper mold, probably a sieve of coarsely woven cloth stretched in a four-sided bamboo frame, was used to dip the fiber slurry from the vat and hold it for drying. Eventually, tree bark, bamboo, and other plant fibers were used in addition to hemp.paper making later spread throughout Asia.
700s C.E.: Paper is brought into Damascus, Egypt, and Morocco.
By the 900s: Paper starts to be made out of flax and other substitute fibers because they are more easily available.
1100s: Paper starts to be seen in Spain and Italy. Before this, Europe is using parchment and vellum
Mid-1400s: The rise of the printing press makes paper making more popular in Europe — made out of cotton or linen fiber from rags — sorted, cleaned, and heated in a solution of alkali and then washed and macerated to a pulp. Paper molds were made by hand from parallel lengths of wire laced together together with fine wire or thread (“laid” molds) or from woven wire mesh (“wove” molds).
Until the 1690s: Most of the paper that was used in America was imported from England
1690s: The creation of William Rittenhouse’s Paper Mill. This was the first paper making factory in America. The factory was in Germantown, PA because there were also many skilled weavers of linen cloth and many flax fields there!
1790s: Americans started to experiment with materials, as rags were getting scarce. Mathias Koops in England and increasing availability of mechanical wood grinders made wood pulp viable as an option.
1800s: The Holyoke Dam was completed across the Connecticut River which started an expansion of mills, and especially paper mills, throughout Massachusetts. This led to much of the paper industry’s growth happening in New York and New England, particularly Holyoke, MA, which became known as “The Paper City.”
1801: What would become Crane and Company was started by Zenas Crane in Dalton, MA — one if if not the first paper-making factory in Massachusetts, but not the last
By 1810: There were some 185 paper mills in the United States including many in Massachusetts.
1860s: Paper from pulp was made usable and commercial ready. The first US newspaper to be printed on paper made from ground wood pulp was the edition of the Boston Weekly Journal.
1970s: Peter Chambers Print Shop, called Thistle-brae Press Ltd. was started.
Additional Resources
- From Rags to (Paper) Riches: Explore Colonial Papermaking
- Paper and Papermaking” by Jack McCarthy
- Robert C. Williams Museum of Papermaking
- https://paper.gatech.edu/early-papermaking
Terms
Pulp: Blended fibers
Slurry: A pulp and water mixture that the mould will get dipped in
Pulling: The act of making paper because you are pulling the deckle through the slurry
Mould and Deckle: The mould is the bottom part that has a frame, usually wood, with some kind of screening stretched over it. The deckle is the top part and is a frame of the same size as the mould. Can be done with just a mould.
Flax: A plant that can be woven into linen and which was an early material to make paper
Wove Paper: Hand-made wove paper was first produced by using a wooden mold that contained a finely-woven brass vellum (wire cloth), upon which the paper pulp was applied and dried, creating a smooth, uniform surface — this was started in early Chinese paper making and then made popular in europe by James Whatman in the early 1700s. Benjamin Franklin brought it over to the United States around the 1760s.
Watermarks: A faint design made in some paper during manufacture that is visible when held against the light and typically identifies the maker
Embossing: The practice of creating a raised design or text on the surface of paper Blended fibers
Paper Making
Activity
Materials
- Base material — leftover paper scraps/newspaper/cardboard
- Water
- Deckle and frame — can be made with a picture frame and window screen, or a screen and duct tape
- Tub/tray — large enough to dip the screen into
- Towel
- Blender
- Sponge or cotton fabric or second towel
- Couching sheets — any absorbent fabric cut to larger than double your paper size (you will want to be able to hang this up and still have room for two sides covered in newly made paper)
- Decorative materials — flowers, leaves, paint, glitter, other paper for contrast etc.
- Place to hang them to dry — hangers work well
Instructions
- Tear the base material into small pieces.
- Soak this in water — cover all of it for at least 15 min, though 24-48 hours is best (depending on the material you may want to soak for longer).
- Blend in blender into a puree (add water to help it blend — double the amount of water).
- Take out blended base material and give it a light squeeze to take some of the water out — can also strain it — but don’t hassle too much, it will be going back into water.
- Put some of this mixture (pulp) into the tub filled with water.
- Depends on tub size, but 3-5 large handfuls of pulp should be a good start. You want the bin to be milky — the more mixture the thicker your paper will be.
- Swish it around to loosen the pulp (add more as needed).
- You can add some decoration at this stage — glitter/paper/petals/paint.
- Take your mould and slide it into the water at a 45 degree angle — you want to get under the pulp.
- Pull upwards and shift from side to side to help the fibers settle.
- Tilt to get rid of excess water (remove deckle if using). (If adding flowers, add them now — place them into the pulp where you want them.)
- Tilt carefully onto fabric (fibers side down) and press down.
- Sponge off excess water.
- Slowly remove the screen from paper — take your time. (If you don’t like how it looks at this stage, no worries, just scrape off and dip the deckle again.)
- Press the second piece of fabric down with a sponge and hands (can press down with the tub/tray).
- Let sit for a bit.
- Hang to dry overnight or until fully dry.
- Remove from fabric — take your time and be careful!
- Lay under heavy books/other weights to help it lay flat.
- Use as you want!
Additional Resources
Watermark Paper Decorating
Activity
Materials
- Paper making materials
- Stamps — preferably deeply carved ones!
Directions
- Make paper as normal.
- After you pull the screen out of the water and flip it, press the stamp into the still-wet paper (press hard to get a more distinct shape).
- Dab with cloth carefully.
Alternatives
There are more complicated versions of this that you can do including the traditional way which is sewing a piece of wire in the shape of your watermark on the screen that you are using. Sometimes this would be a second screen that was put above the first one before you dip it in the slurry.
Dry-Emboss Paper Decorating
Activity
Materials
- Dry paper
- Card stock
- Exacto knife
- Window or shadow box (can use phone)
- Pencil
- Paint brushes or other soft, thin-tipped tool
Directions
- Pick out your design and draw it scrap paper.
- Shift it to the cardstock — use light like a window or phone.
- Cut it out of the card stock — be careful!
- Set decorative paper over the cardstock where the cut out is — trace this with the fine tipped tool (take your time to say within the lines).
- Use paper.
Additional Resources